Coming to Catalina Sea Camp is full of new moments. Whether it’s sailing over the open water or learning how to knock and fire your first arrow, camp here teaches us all kinds of lessons. Arguably one of the most important, though, is the way that camp allows us form friendships that become the essential new ingredient to thriving in a new setting. No matter whether we make friends to enjoy camp experiences together, support each other through homesickness, or challenge each other to learn and appreciate the beauty of surrounding nature, making new friends is a surefire means to ensuring the summer ahead will be one of the best experiences a camper can have.
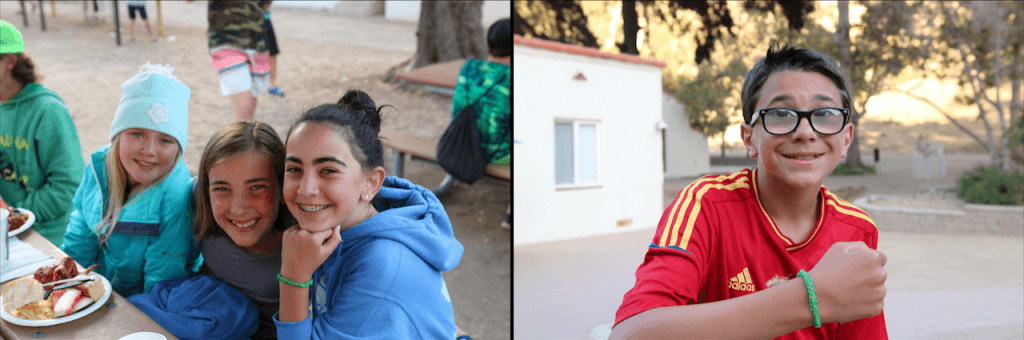
One of the ways we celebrate these new experiences here on Catalina, and at many other camps across the nation, is through making bracelets to commemorate the friends made at camp and remember the role friends play in our lives. The bracelet most commonly used to celebrate new friends at Sea Camp is known as a Turks Head bracelet, during the making of which the ends are fused together to represent celebrating the impact camp has on new friendships and allowing campers to truly be themselves and thrive through celebrating uniqueness. To learn how to make the Turks Head, come to camp and learn from one of our instructors or counselors! For now, though, we created a simpler DIY for those interested in learning a simple way to commemorate new friends. Watch the video and read the instructions below to get started.
What you will need:
- 2 Strands of thicker rope
- 2 Strands of thinner rope
- A Clip Board
- Tape
Instructions (also refer to the video for a more thorough visual description):
- First, measure out two arm lengths and cut the thicker and thinner ropes to have four lengths of rope, each measured to two arm lengths.
- Second, tie one end of all four ropes together in a knot and place the knot underneath the clip of the clip board
- Third, arrange the two thicker ropes side by side to the end of the clipboard and tape them down, securing them on whatever surface you are working on.
- Fourth, use the smaller lengths of rope to tie knots around the thicker pieces, the way we like to do this is by alternating which side the knots are tied on (refer to the video to watch how the knots are tied, take note of shaping one side like a four and pulling through the other side from under the thicker rope)
- Fifth, continue this process, either alternating or keeping the knots to the same side for two different unique looks, until the bracelet has reached the adequate length to reach around one’s ankle or wrist.
- Sixth, once the desired length is reached, tie the other end in a knot and cut off the excess rope.
- Seven, tie the bracelet around your wrist or ankle and show it off to celebrate new friends and fresh experiences!